| wcg112233 | 2018-09-25 07:29 |
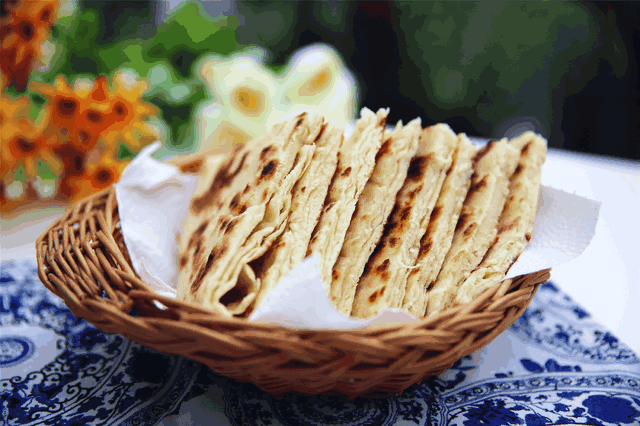 以前回家路上总有卖这种千层饼的小摊,我特别爱吃。不过自从看了制作过程后,就不喜欢吃外面的烙饼。不看不知道,真的看了吓一跳。那烙饼用油,不是一般的多。现在什么东西都喜欢自己琢磨着做做。 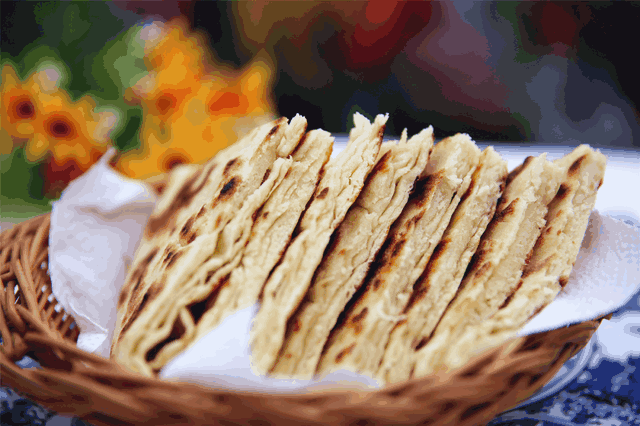 千层烙饼,一层一层的缠绵在一起,色泽金黄,酥脆可口,一口咬下去,暖香朴面,那真是要人命的香气。我这款烙饼用油很少。只需要用刷子在锅面薄薄的刷上一层。吃起来让你没有一点负担。 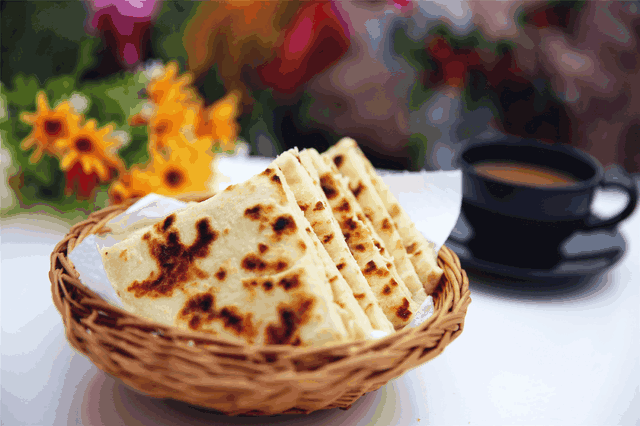 每天早起一个小时就能为家人做上美美的早餐,营养丰富,卫生干净,让家人可以元气满满的开始新的一天。你们也可以试试,简单快手,零失败! 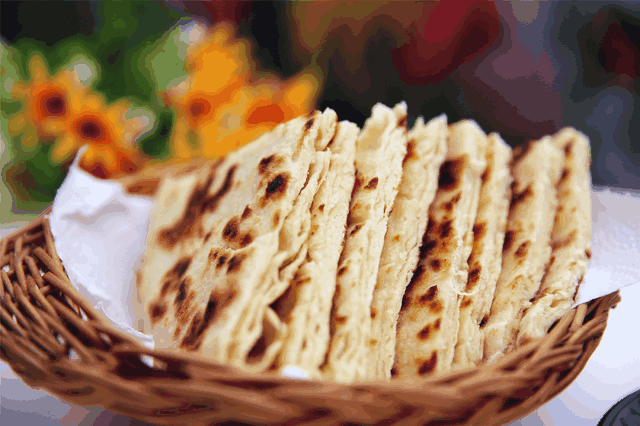 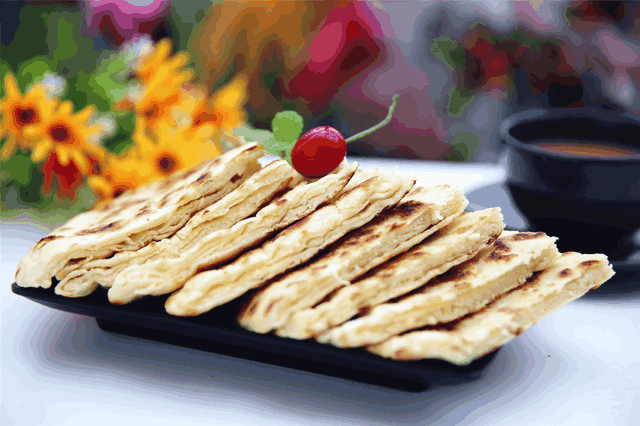 【家常烙饼】 材料;(3人份) 食材:中筋面粉400克,开水,凉水,植物油适量,盐少许 制作方法: 1.将面粉准备好。备好食材,烧开水备用。 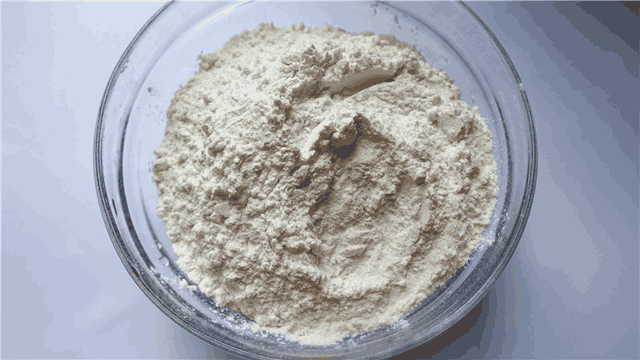 2.开水烫2/3的面粉,拌面絮 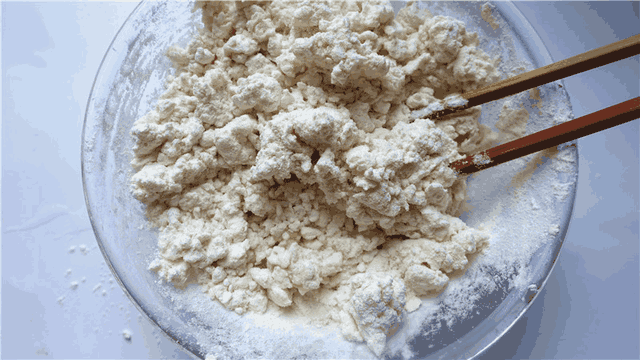 3.剩下的1/3面粉用凉水拌面絮,两种面絮拌匀,这样揉面不烫手 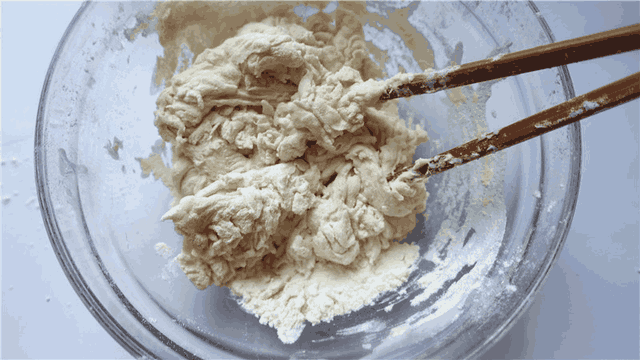 4. 用手和成面团,粘手的话加点植物油,不需要揉太光滑,封好一旁饧半小时以上  5.面案上撒干面粉,面团搓长条,切2个等大的面剂 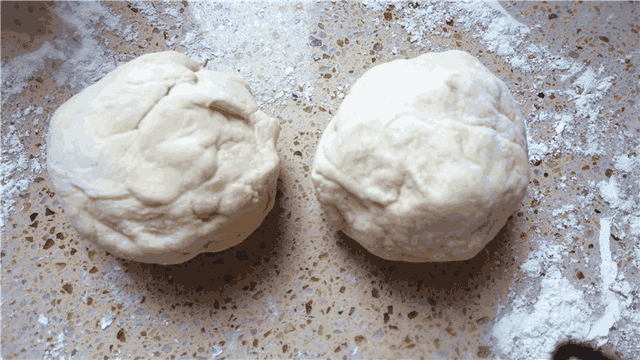 6. 蘸面粉按扁,擀圆擀薄、刷植物油、撒少许盐。  7.饼皮中间为起点。 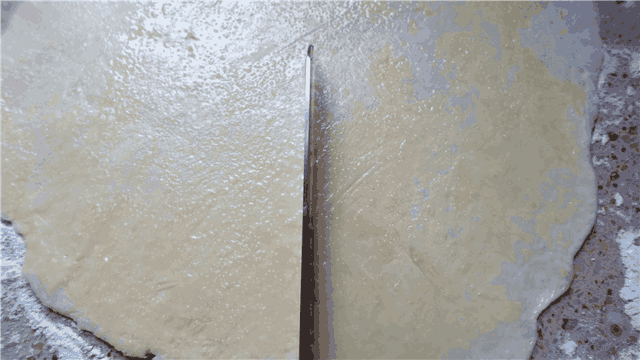 8.逆时针向上开始卷 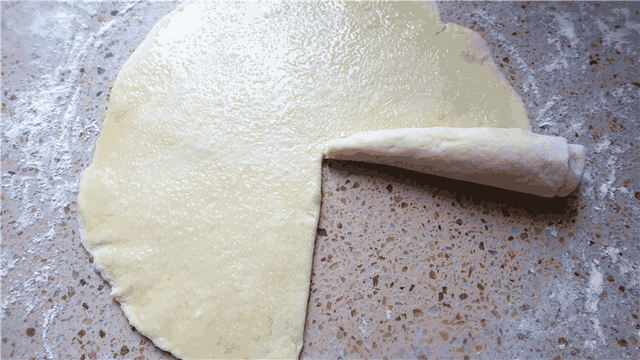 9.把侧面接口处都捏牢。 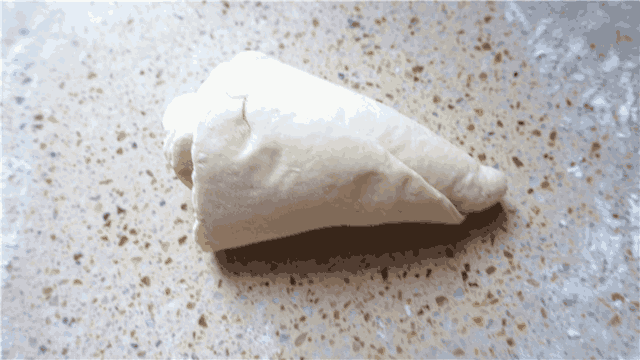 10.顶端接口处也捏住封好。大头在下、尖角在上,立起来。 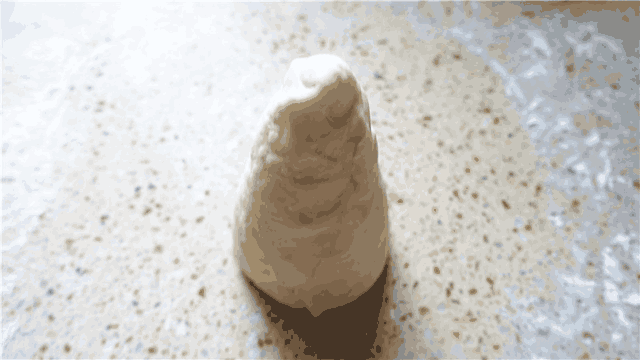 11.按扁,擀薄擀圆。  12.平底锅烧热,刷油。 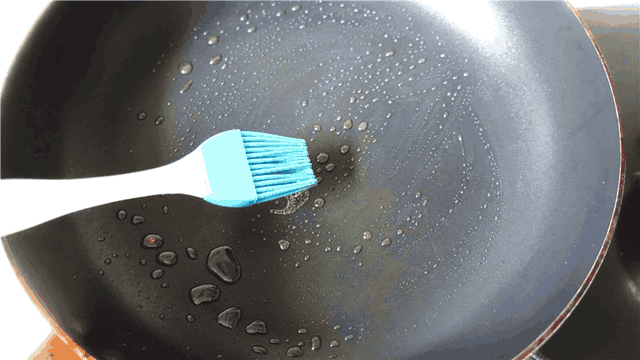 13.把饼搭在擀面棍上移到平底锅里。小火烙,底面起泡就翻面。  14.两面烙成金黄色,起锅。 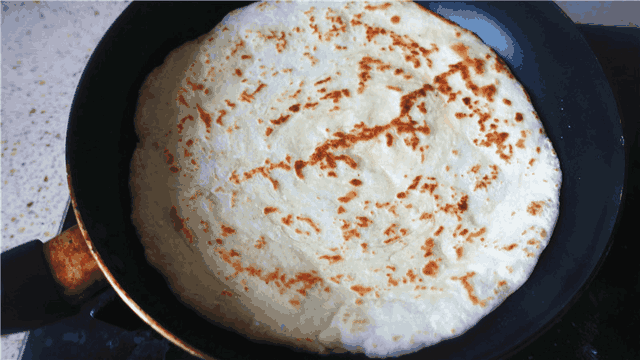 15.出锅的大饼在菜板上摔几下,这样层次更分明,切开就可以上桌了,摞着放饼更软。 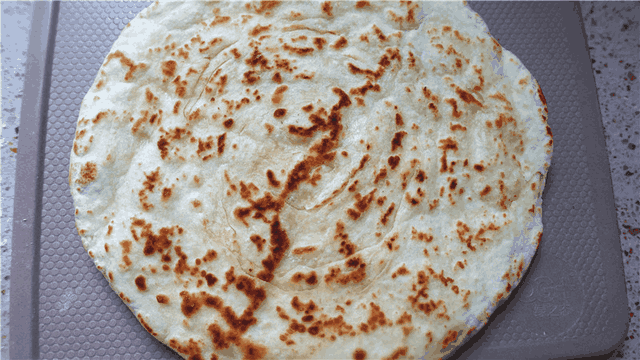 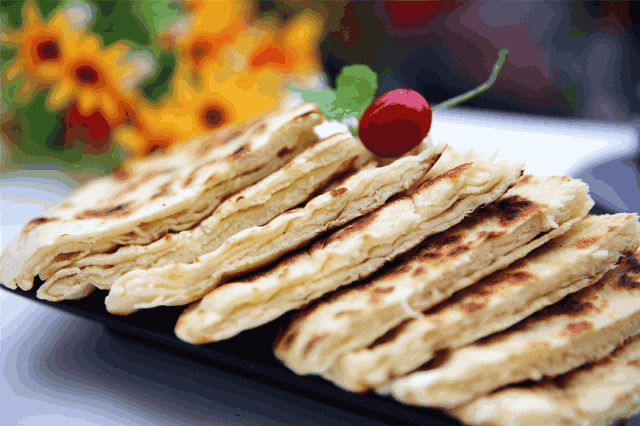  |
|